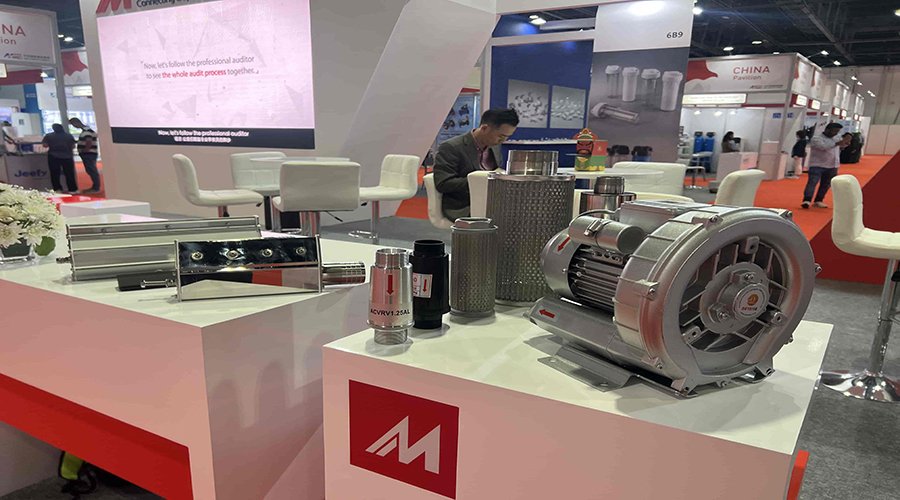
Installing a regenerative blower efficiently is crucial for optimal performance and longevity. In this guide, we'll delve into the best practices for regenerative blower installation. Follow these steps to ensure a seamless setup.

Before diving into the installation process, make sure you've covered these essential preparations:
Assess Your Workspace: Evaluate the installation location to ensure it's well-ventilated and free from obstructions. Adequate space is vital for proper airflow.
Choose the Right Blower: Select a regenerative blower model that suits your specific needs and applications. Consider factors such as capacity and pressure requirements.
Gather Necessary Tools: Prepare all the tools and equipment required for the installation, including wrenches, screws, and safety gear.
Now, let's move on to the installation steps:
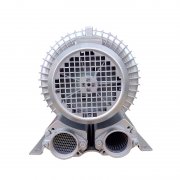
Begin by mounting the blower:
Secure Foundation: Ensure the installation surface is stable and level. A sturdy foundation prevents vibration and extends the blower's lifespan.
Mounting Position: Position the blower so that the air intake and discharge ports align with your system's requirements.
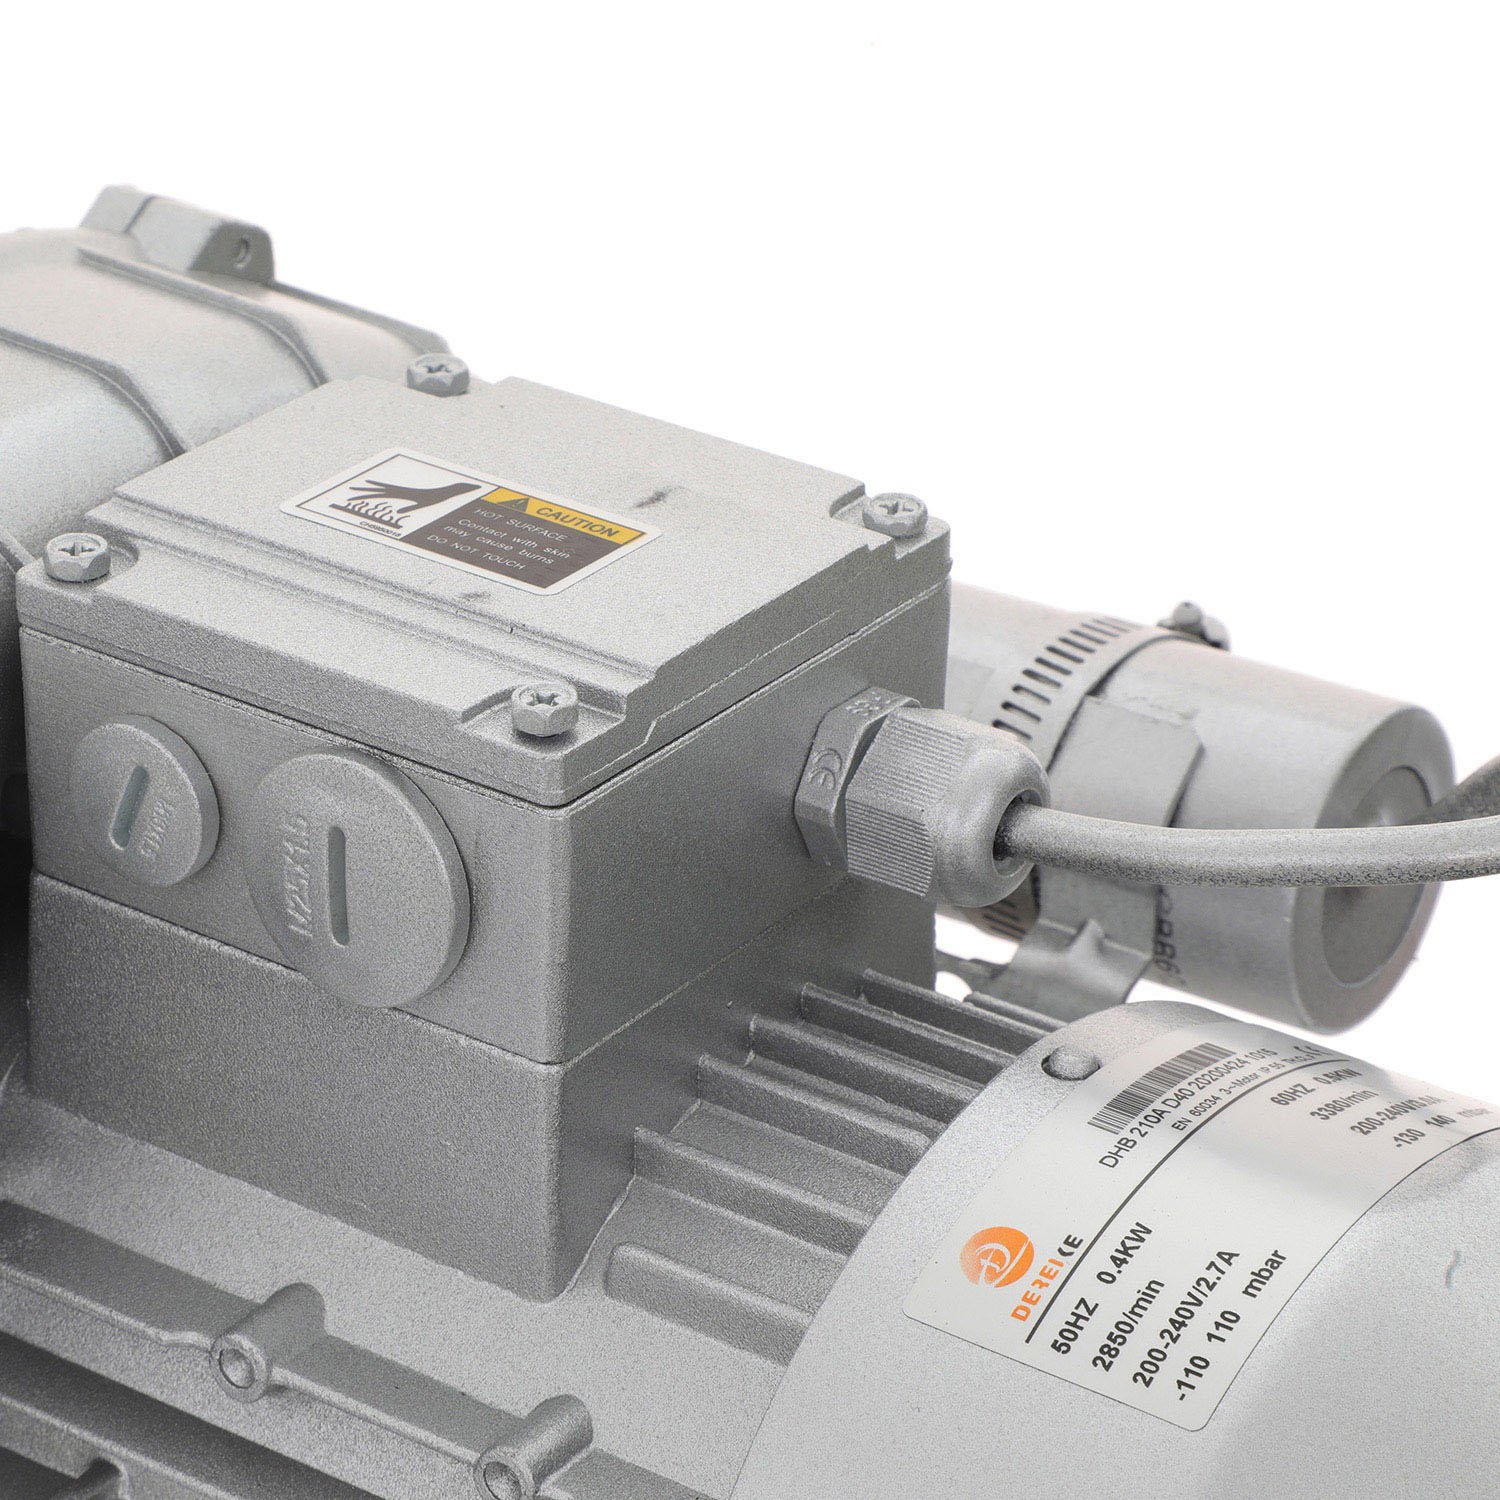
Proper electrical connections are essential:
Power Supply: Connect the blower to a stable power source that matches its voltage and current requirements.
Wiring: Use high-quality wires and connectors to prevent power loss or electrical issues.
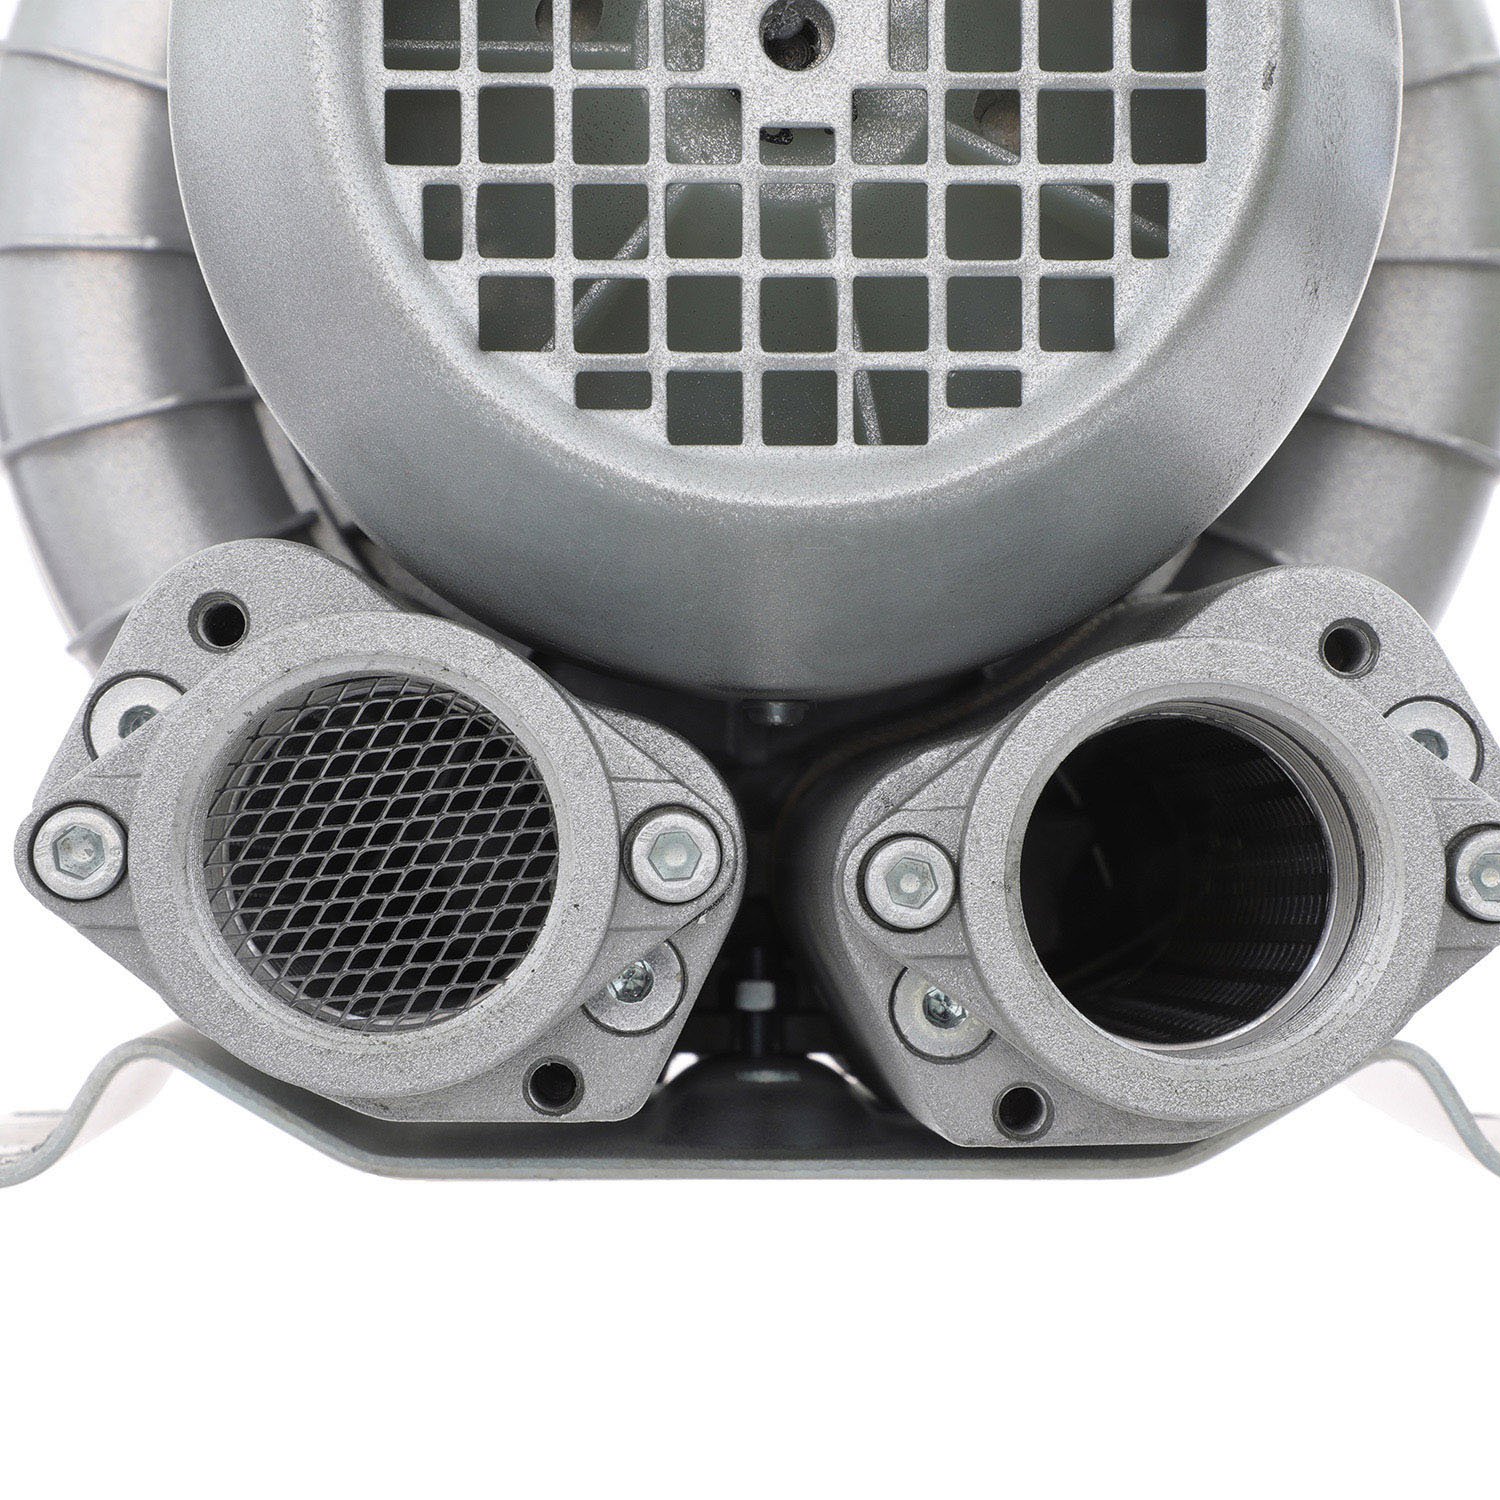
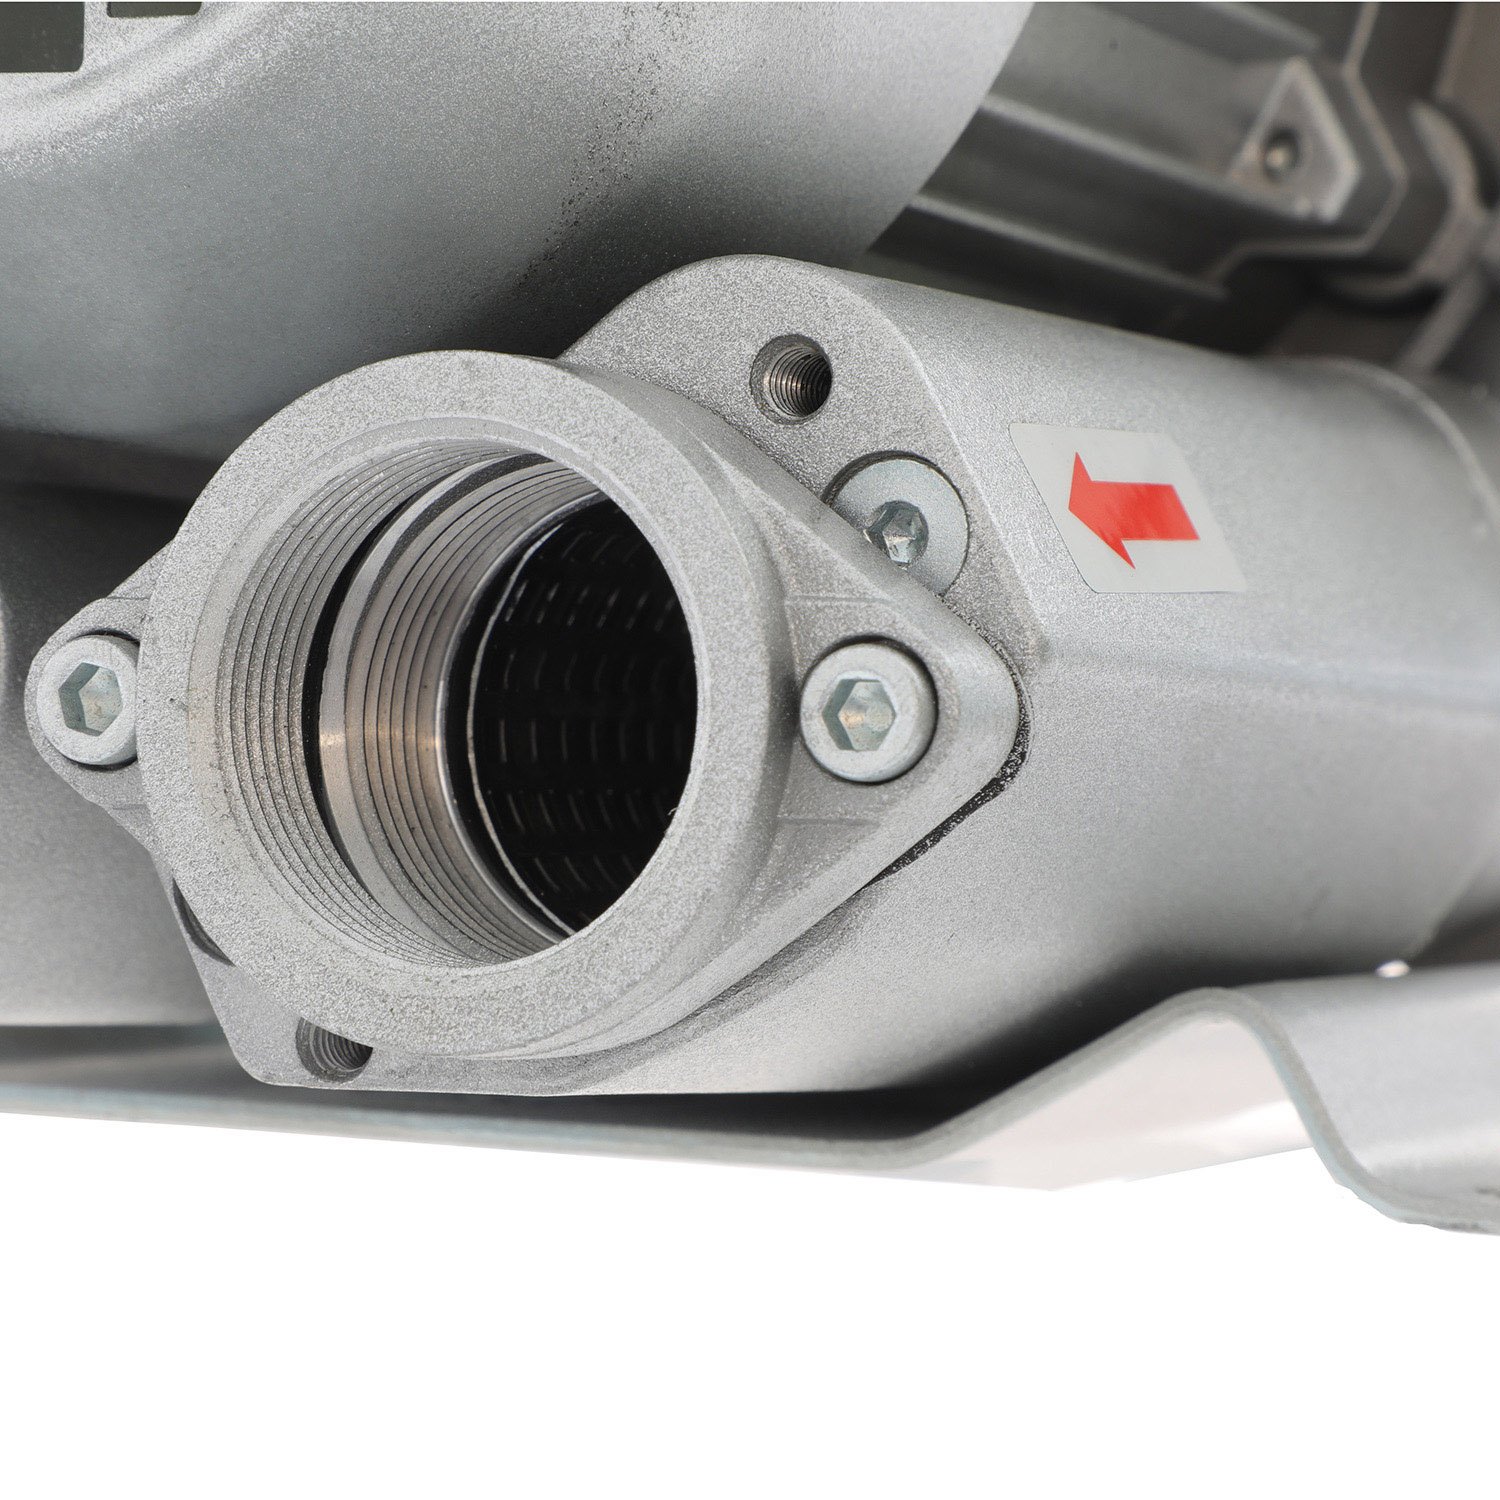
Setting up the piping system correctly is crucial:
Inlet and Outlet: Connect the inlet and outlet pipes securely, ensuring airtight seals to prevent leaks.
Filter Installation: Install filters to ensure clean air intake, which is vital for the blower's efficiency.
Before completing the installation, perform alignment and testing:
Alignment: Ensure that the blower's shaft aligns perfectly with the connected equipment.
Testing: Run a test to check for any unusual vibrations, noises, or leaks. Address any issues promptly.
Once the blower is installed, don't forget these post-installation checks:
Tighten All Connections: Double-check all bolts, nuts, and connections to ensure they are secure.
Inspect for Leaks: Re-examine the piping system for any air or gas leaks and fix them immediately.
Monitor Performance: Regularly monitor the blower's performance to detect any anomalies early.
Maintenance Schedule: Establish a maintenance schedule to clean filters and lubricate moving parts.
By following these regenerative blower installation best practices, you can optimize its efficiency and ensure long-term reliability. Proper installation not only enhances performance but also reduces the risk of downtime and costly repairs. Enjoy the benefits of a well-installed regenerative blower in your system!